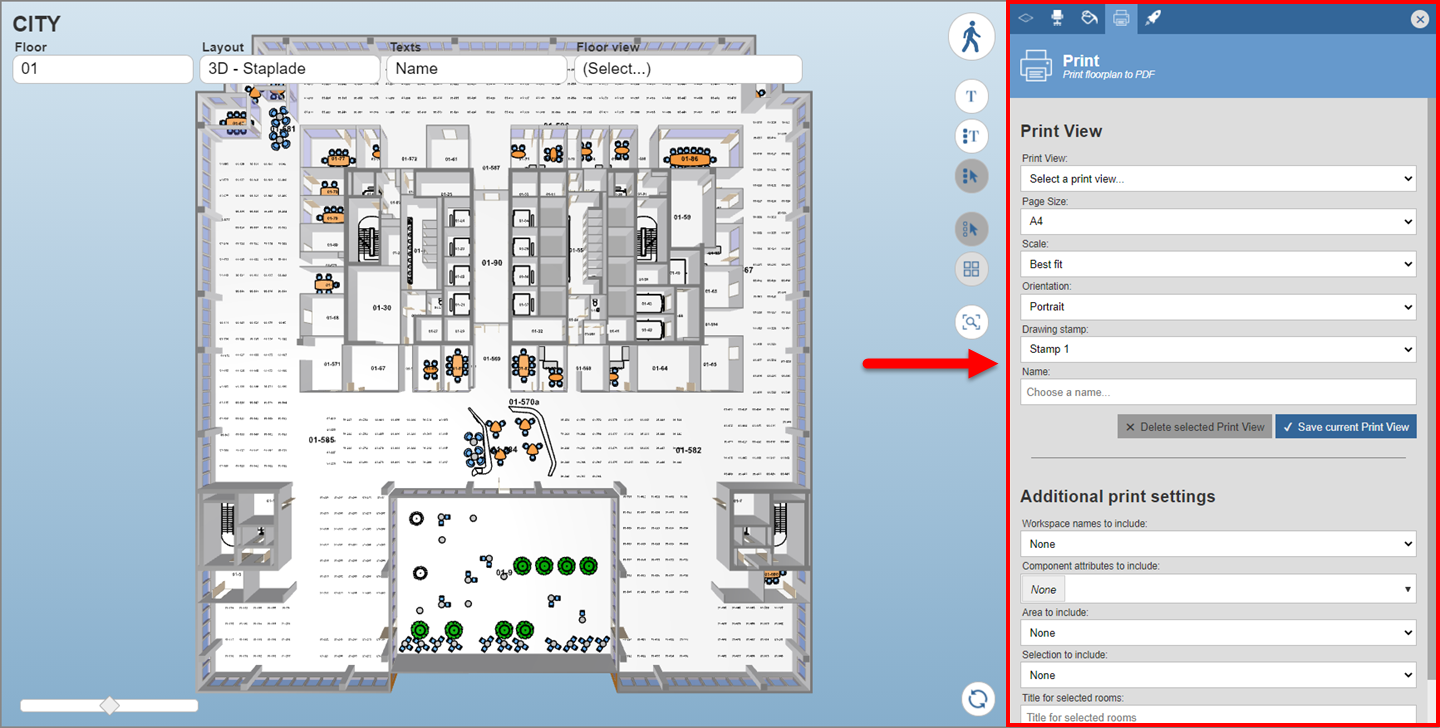
In order to create a PDF printout, you must activate the print command. For more information on how to activate the print command, see "Activate the print command" in section 5.3.2.11. After activating the print command you will have access to a printout menu consisting of two parts: "Print View" and "Additional print settings" (see image below). Under "Print view" you will find six fields: "Print View", "Page size", "Scale", "Orientation", "Drawing stamp" and "Name". But that's not all. Under "Print View" you will also find two buttons: "Delete selected Print View" and "Save current Print View". Under "Additional print settings" you will find five fields: "Workspace names to include", "Component attributes to include", "Area to include", "Selection to include" and "Title for selected workspaces". But that is not all. Under "Additional print settings" you will also find a button called "Print".
The printout menu is very useful. Using the printout menu you can:
create printouts
create print views
delete print views.
A print view is a building specific view with a predefined page size, scale, paper orientation and drawing stamp. Print views can come in handy when creating printouts. This is because they help you to get the correct basic settings on you printouts quickly and easily.
For more information on the fields found in the printout menu, see "The printout menu fields". For more information on how to create a printout, see "Create a printout". For more information on how to create a print view, see "Create a print view". For more information on how to delete a print view, see "Delete a print view".